All right, let’s cut to the chase. You’re doing an endo and you’ve got a blocked canal. It’s not pretty, and it’s definitely not convenient. But don’t panic – panicking doesn’t solve problems; actions do.
You called me, and I fix problems.
Let’s get this canal prepared like it’s supposed to be.
Step 1: Identify the Obstacle
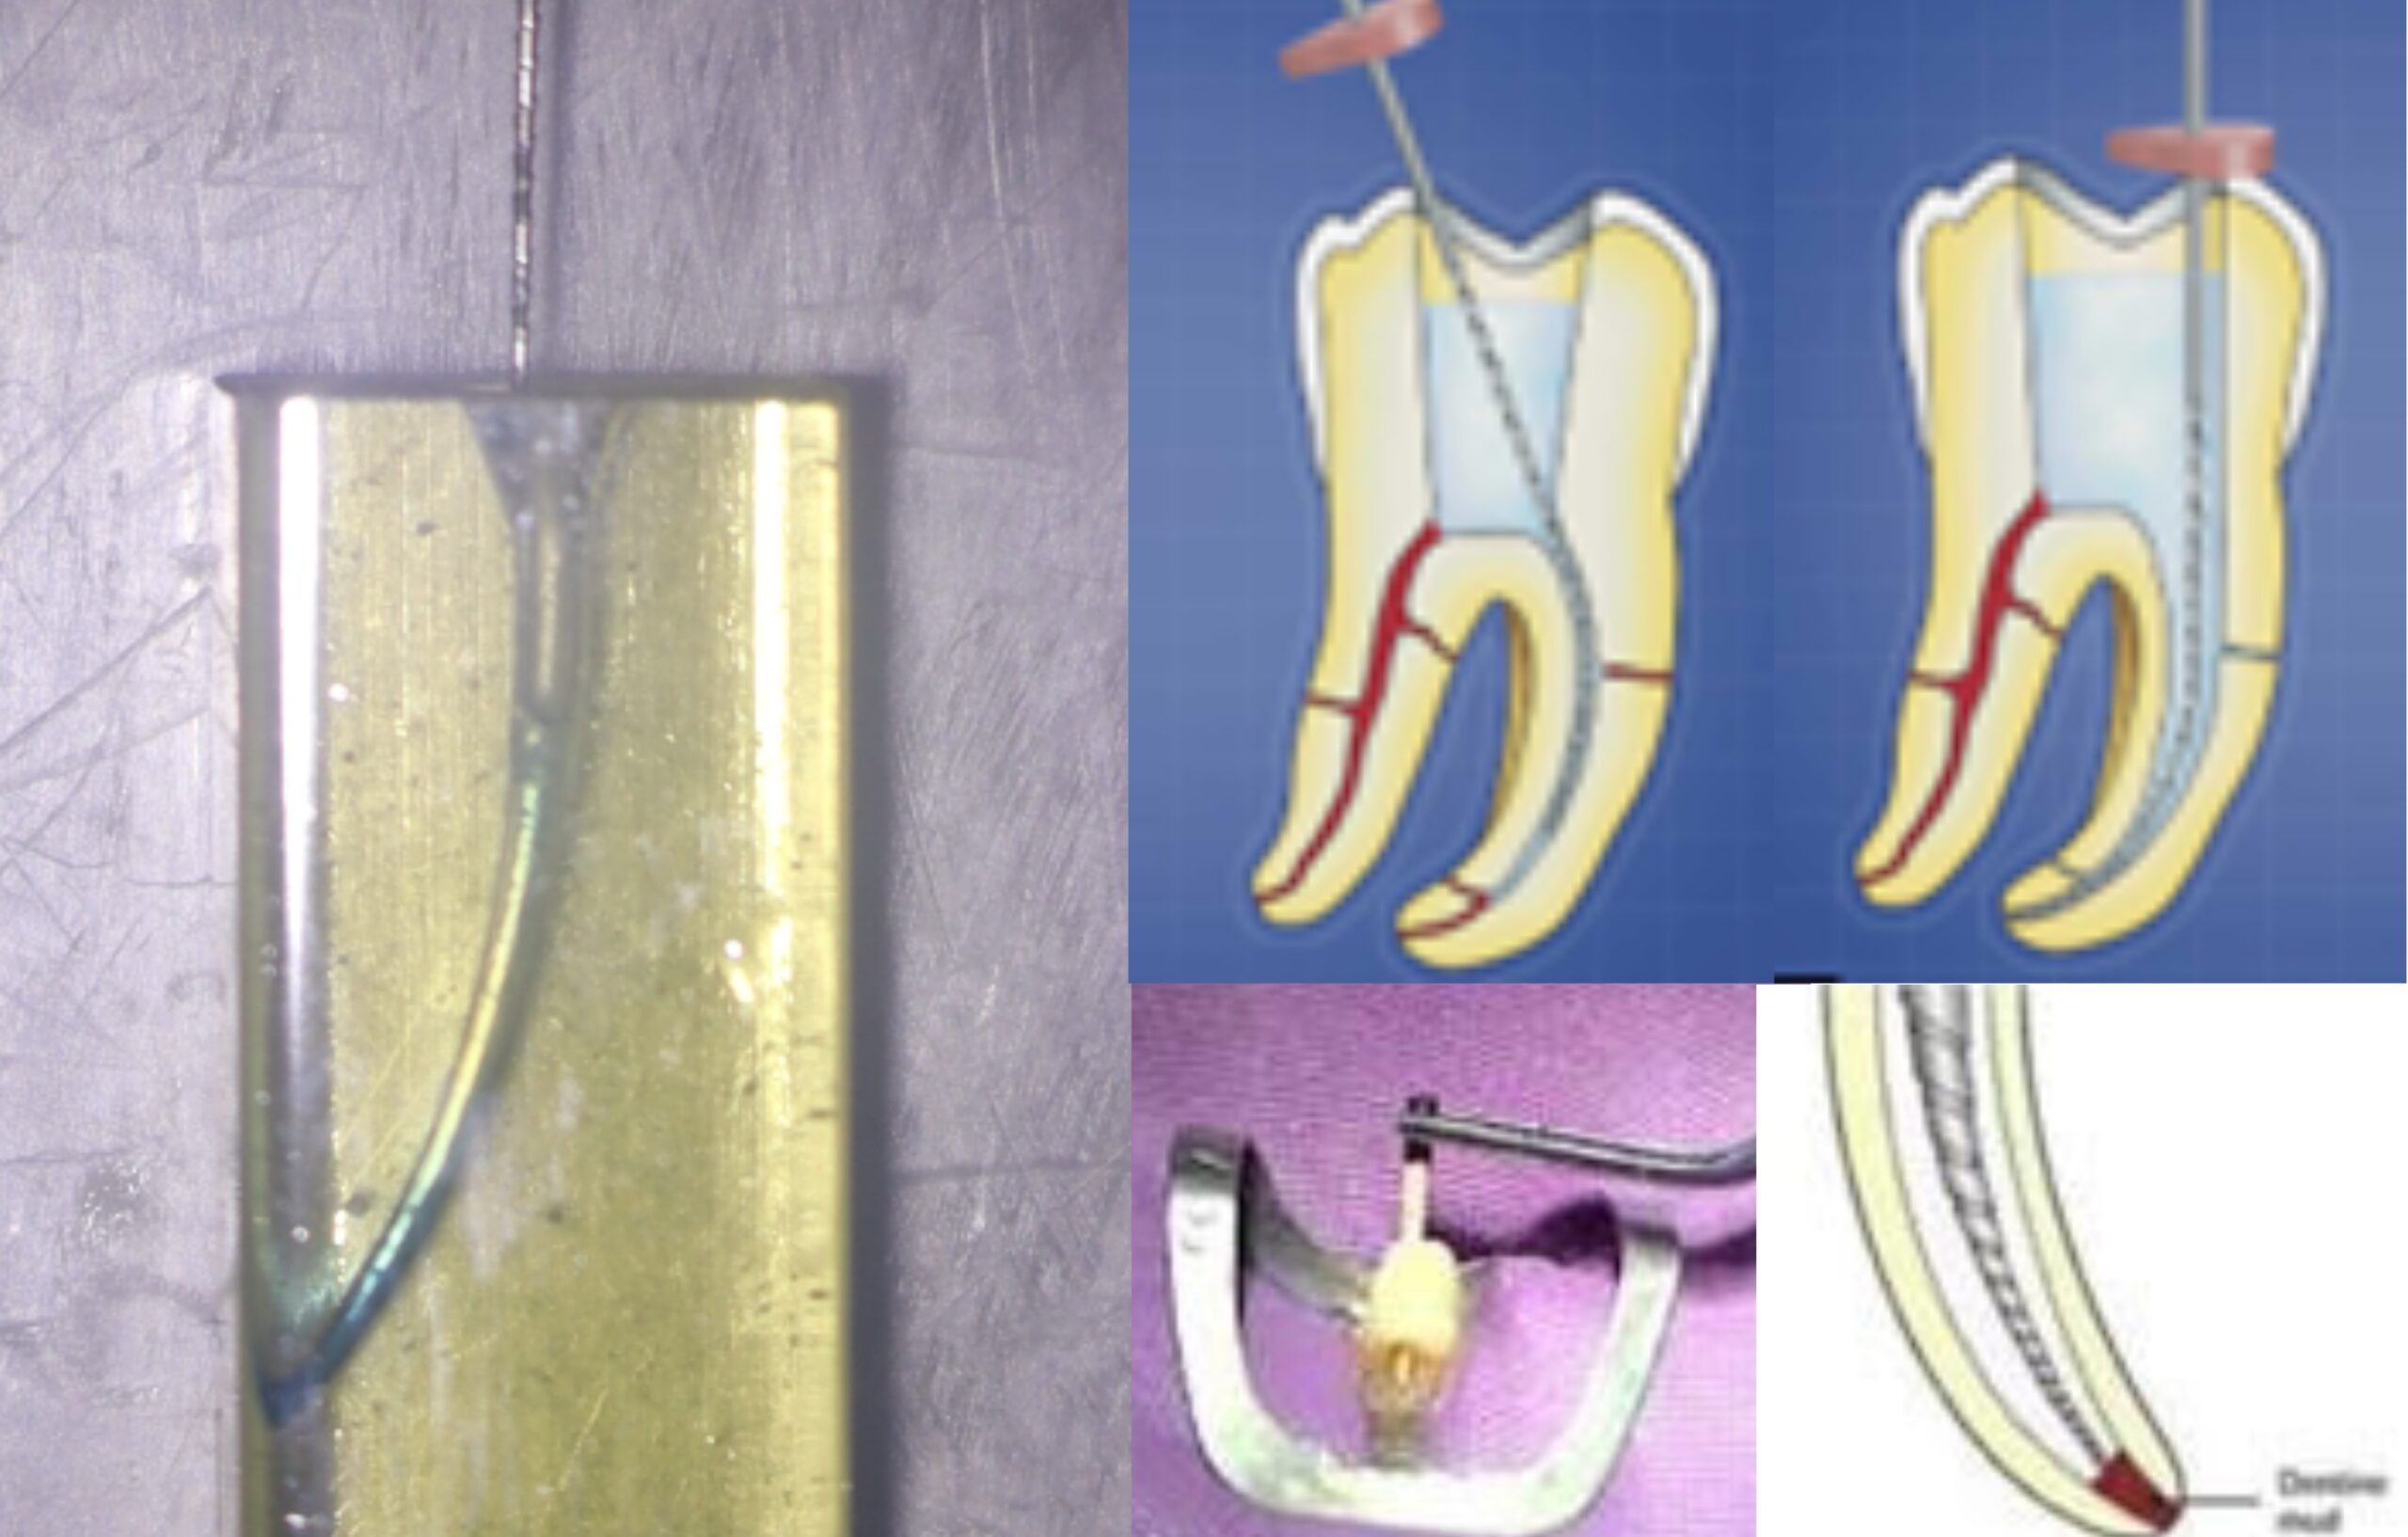
Dentine mud, a combination of organic and inorganic debris, can accumulate during canal preparation and, if packed apically, may cause the canal to become blocked.
Coronal interferences can cause the file to bind coronally and prevent apical advancement of your instruments. Whatever the culprit, you need to figure out the cause and get it sorted pronto.
Scout the canal, use your eyes, pay attention to tactile feedback and consider what steps you have taken so far. Is it clogged up with a chunk of necrotic pulp tissue? Are you overdoing the ninja endodontics and does your access cavity need modification and extension?
Identify the obstacle. Because you can’t solve what you don’t understand.
Step 2: Assemble the Right Tools
Now that you know what’s jamming things up, it’s time to arm yourself.
For minor blockages, your hypo irrigation syringe, a small hand file and a GP cone may be all that’s required, but if we’re talking serious blockages, you may need to use other irrigants or bring in the big guns, such as laser-assisted irrigation techniques.
Don’t skimp. Half measures just make bigger messes later.
Step 3: Work Smart, Not Hard
You’re not a superhero, and not every canal can be unblocked. Follow these simple steps and see where they take you.
- Check your access for any excessive interferences that may be deflecting the file away from the canal. Then remove them.
- Flush the canal with copious amounts of hypochlorite. Then, using a size 10 hand file, attempt to negotiate beyond the level of the blockage.
- Reduce the working length to 1mm back from where the blockage is and complete the canal preparation in totality to this level.
- Using a well-fitting GP cone and with small amplitude vertical movements (2-3mm), pump the GP cone in the canal to the working length, alternating NaOCl and EDTA as irrigants and see if the blockage has gone.
- DO NOT try to force the file beyond the blockage, as you will go from having a blocked canal to one with a ledge or a fractured instrument – more work for The Wolf.
Be methodical – this isn’t about brute force; it’s about precision.
Step 4: Prevent Future Problems
You don’t want to be here again, do you? After clearing the blockage, focus on prevention of any further blockages. Use a crown-down approach with decent coronal flare that creates an adequate reservoir of irrigants and facilitates effective irrigant exchange and debris removal.
Use copious irrigation between instruments and patency filling to break up and remove any apically packed debris. Keeping the canal patent just beyond where you are working gives you the confidence that you will not block yourself out.
Step 5: If All Else Fails, Bring in Reinforcements
Some jobs are too big, even for the best of us. If you’ve got a blockage that laughs in the face of your tools and techniques, call the specialists and make it their problem. The goal is results, not pride.
Final Thought
A blocked canal is like any problem – it’s solvable if you think logically and execute your strategies efficiently.
Follow these steps and you’ll have that canal prepared in no time. Just remember: no drama, no excuses. You’ve got this.
You’re welcome
Mr Wolf